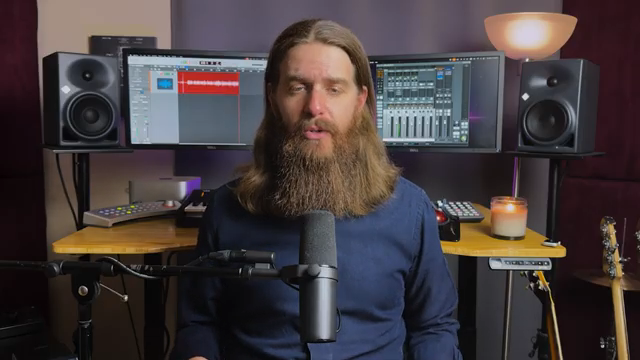
Chris Sangster, aka sangstersounds, isn’t here for shallow dives—he’s spelunking right into the guts of Logic Pro’s Track Inspector. If you thought this panel was just for renaming tracks and picking fancy icons, brace yourself. Chris rips through hidden features, obscure MIDI routing, and Flex Time trickery with his trademark clarity, all while keeping things practical for real-world producers. Expect workflow hacks, CPU-saving tips, and enough creative options to make your next session a toaster-fight in a rave bunker. Logic Pro users: this is not the time to look away.
8. September 2026
SPARKY
SangsterSounds Digs Deep: Logic Pro’s Track Inspector Unleashed
Treasure Map: Finding Gold in the Track Inspector
If you’ve ever glanced at Logic Pro’s Track Inspector and felt a cold sweat creeping down your back, you’re not alone. Chris Sangster admits it’s got that intimidating vibe, but he’s quick to prove there’s a stash of features lurking under the hood. This isn’t just another panel to ignore—it’s packed with options that, once understood, can keep your workflow slick and prevent creative derailment.
From quickly renaming tracks to swapping out icons for your own custom artwork, the Track Inspector does more than just look pretty. Sangster wastes no time showing that even these surface-level tools have a place in a serious production environment. Sure, slapping a photo of your actual guitar as an icon won’t make your mix slap harder, but it’ll at least make you smile before the real wizardry begins.
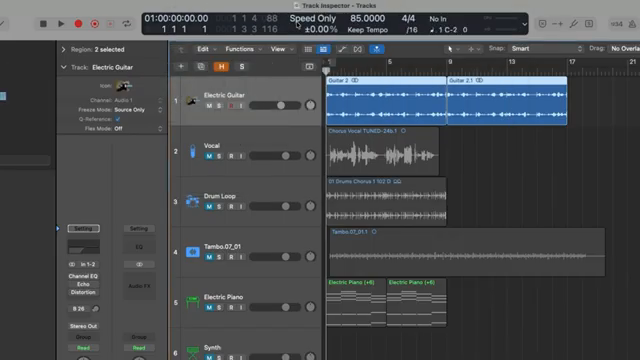
"Certainly not going to make your music sound any better, but pretty fun nonetheless."
© Screenshot/Quote: Sangstersounds (YouTube)
Flex Time and MIDI Routing: Secret Weapons
"If the goal is to create a chopped, re-sampled sound, then this actually works to enhance that effect."
© Screenshot/Quote: Sangstersounds (YouTube)
Let’s get dirty: Flex Time modes and MIDI routing are where the Track Inspector really starts to cook. Sangster dives past the obvious and unpacks how each Flex Mode exposes unique controls you won’t find anywhere else. From Monophonic’s percussive checkbox to Slicing Mode’s Fill Gaps and Decay tweaks, you’re looking at a toolset that can make your audio warp and snap in ways your mates probably haven’t clocked yet. Rhythmic and Polyphonic modes get their moment too, with Sangster showing how subtle tweaks can either save your groove or completely mangle it (sometimes on purpose).
But it’s the MIDI routing section that’ll make power users sit up. Sangster breaks down how Logic’s internal MIDI routing turns your DAW into a modular playground, letting you pipe MIDI FX and notes from one instrument to another. It’s not always elegant—sometimes it’s easier to just copy regions—but for the mad scientists out there, this is the sort of feature that turns a vanilla project into a toaster-fight. If you’ve ever wanted to chain arpeggiators across tracks or set up Frankenstein MIDI FX chains, this is your invitation.
Inspector-Only FX: Where the Magic Hides
Here’s where the Track Inspector earns its underground cred: creative effects that you simply won’t find anywhere else in Logic Pro’s labyrinth. Sangster zones in on Speed FX—a Flex Mode that links tempo and pitch like it’s still the age of tape. Pitch shifts with tempo changes, giving you everything from sci-fi warbles to full-on robotic stutters. This isn’t your everyday time-stretch; it’s the kind of tool that makes sound designers and weirdos (meant in the best way) grin.
Don’t sleep on the granular controls either. Grain size and crossfade parameters let you morph slices into anything from smooth clouds to glitchy static. Sangster’s demo makes it clear: you won’t use this on every track, but when the right moment comes, it’s a sonic street weapon. These creative effects are the sort of thing you only stumble upon if you’re willing to dig—and Chris does the dirty work for us.
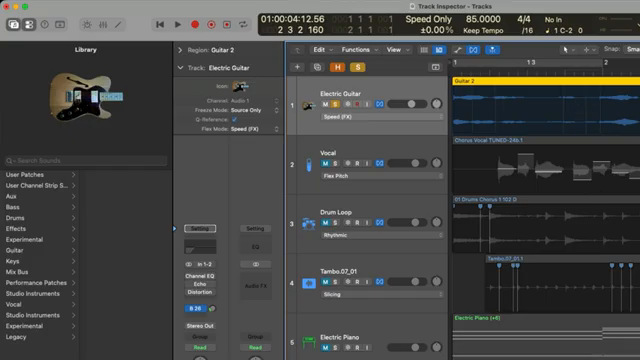
"Definitely not the best mode for natural sounding time alignment, but great for creative effects."
© Screenshot/Quote: Sangstersounds (YouTube)
Track Settings: The Power Behind the Curtain
"This can be very helpful if we have a pad sound that swells so much at the beginning, it sounds out of time."
© Screenshot/Quote: Sangstersounds (YouTube)
Think you know what all those extra controls do? Think again. Sangster blitzes through the less glamorous but essential track settings: velocity offsets, key and velocity limits, transpose toggles, and delay tweaks. These aren’t just menu clutter—they’re how you keep your MIDI drums from turning into a circus, or make your pad sounds actually land on the beat.
Even niche features like articulation sets and staff styles get a quick spotlight, and Sangster doesn’t sugarcoat which ones are actually useful in real life. If you’re running hardware synths or have a complex MIDI setup, the external MIDI track options will make your rig behave (or misbehave) exactly as you intend. Mastering these settings gives you the confidence to take risks and break your own workflow rules—just how we like it.
Watch the Gems in Action
Look, you can read about formant shifting and MIDI FX chains all day, but nothing beats seeing them mangled live by someone who knows the ropes. Sangster’s walkthrough is a must-watch if you want to catch the nuances, hear the glitches, and pick up real-world tricks that don’t fit neatly into text. Some things just have to be experienced in motion—so fire up the video and let your next session level up.
This article is also available in German. Read it here: https://synthmagazin.at/sangstersounds-graebt-tief-logic-pros-track-inspector-entfesselt/
More articles about these products:
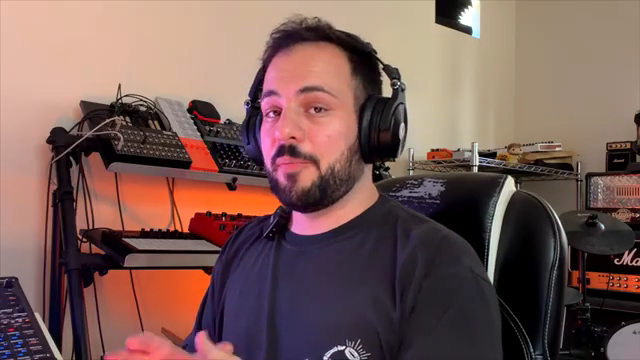 sunwarper vs. Koala Sampler: Stem Splitter Showdown in a Budget Rave Bunker
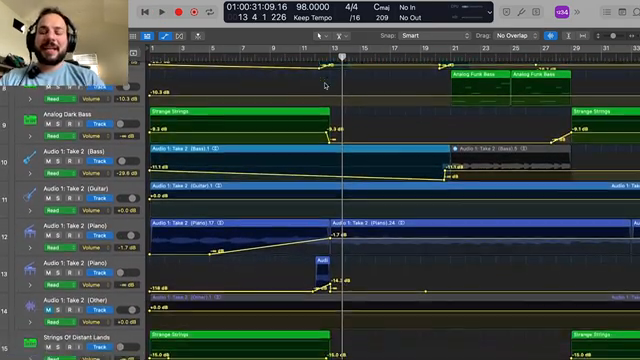 sunwarper’s SP-404MK2 Live Set: Turning Tracks Into a Rooftop Rave Weapon
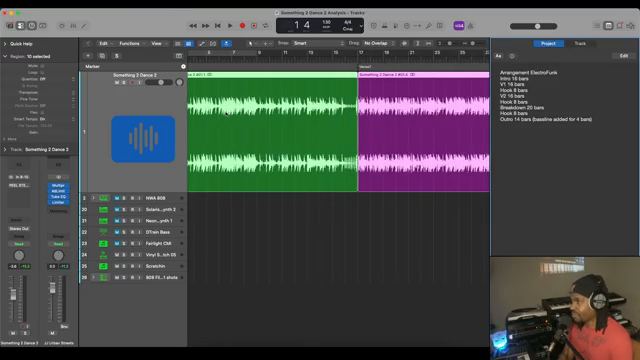 Verysickbeats Digs Into NWA’s Electro Funk Oddball—And Drops 808 Gems
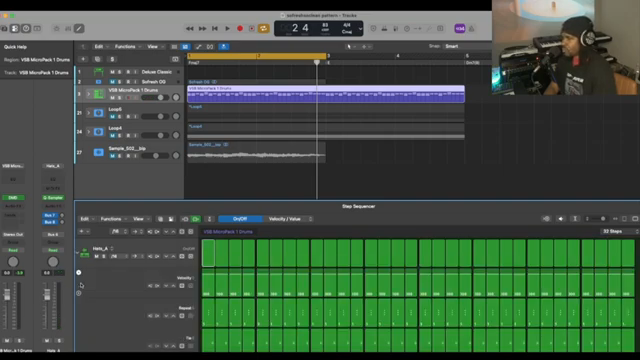 Verysickbeats Breaks Down That Organized Noize Drum Sauce
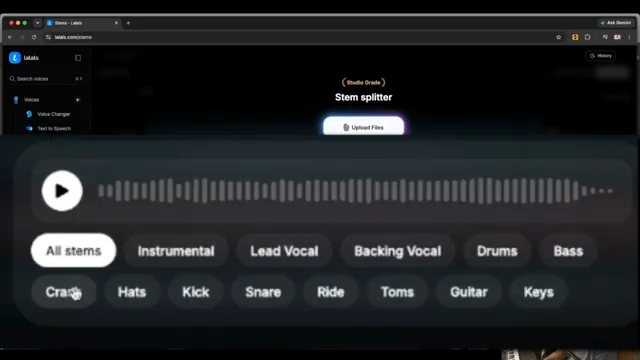 Verysickbeats Flips the Script: Vocal Stem Sorcery with Lalals
 Chris Sangster vs. Logic’s Stem-Bounce Nightmare: EasyBounce to the Rescue
 Chris Sangster’s Region Inspector Rave: Logic Pro’s Best-Kept Workflow Weapon
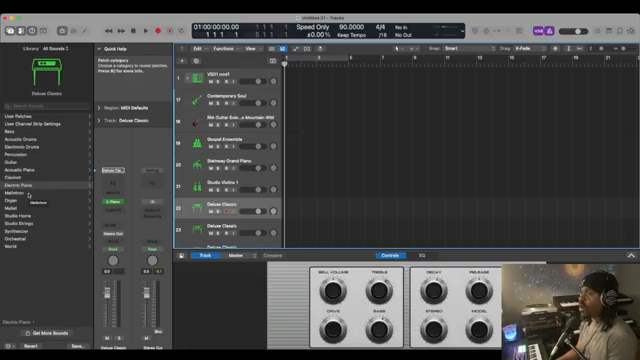 Verysickbeats: Sculpting the Boondocks—Soulful Templates for Cinematic Beats
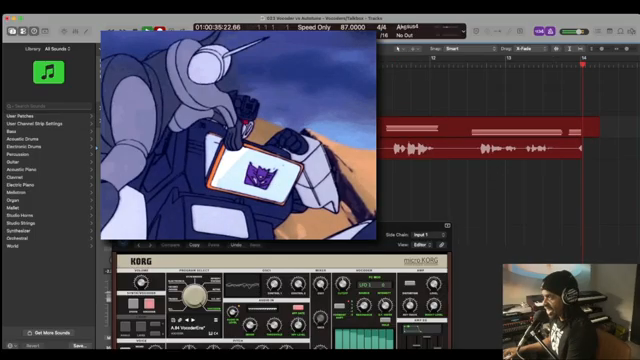 Verysickbeats Schools Us: Why Auto-Tune Can’t Hang With a Vocoder
 Verysickbeats Breaks Down Just Blaze’s Sample Game: Groove Lessons from a Beatmaking OG
 Chris Sangster Turns Club Chaos Into Streaming Gold – A No-Nonsense Live Mix Breakdown
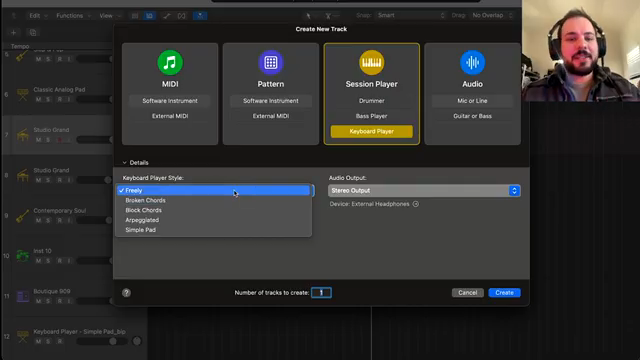 sunwarper’s Flip: No More Crate Digging—Make Your Own Heat
Watch on YouTube:
Latest articles
Watch on YouTube:
Visit the channel:
https://www.youtube.com/sangstersounds
https://www.youtube.com/sangstersounds
Links from sangstersounds:
FREE DOWNLOADS!: https://linktr.ee/sangstersounds
Website: https://sangstersounds.com
Instagram: https://instagram.com/sangstersounds
Sponsored links:
If you purchase via these links, we may earn a small commission – at no extra cost to you. The link opens an Amazon keyword search, and results may vary depending on availability.
Korg SV1
🔗 Check price on Amazon
🔗 Check price on Amazon
Logic Pro
🔗 Check price on Amazon
🔗 Check price on Amazon
Presonus Faderport
🔗 Check price on Amazon
🔗 Check price on Amazon