Akai Professional’s latest MPC Academy tutorial puts the spotlight on the MPC Live III, showcasing its prowess as a standalone production powerhouse with a focus on the new MPCe Expressive pads. This official walkthrough guides users through installing the MPCe Expansion Pack, exploring genre-spanning preset kits, and building custom drum kits with multi-layered pad architecture. The video is a workflow-centric tour, revealing how Akai’s digital design enables nuanced beat-making, advanced sample layering, and real-time sound manipulation. For producers seeking hands-on control and creative flexibility, this is a revealing look at how the MPC Live III wants to be played.

3. October 2025
LYRA
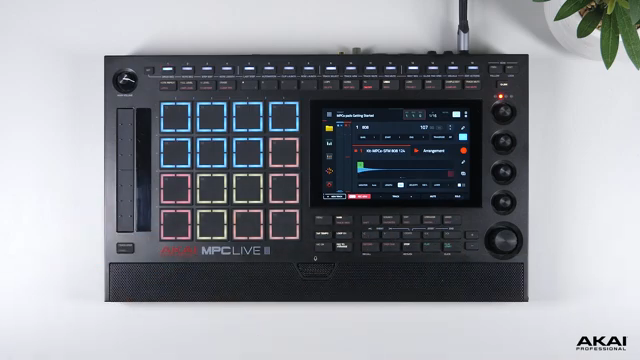
Akai Professional Unpacks the MPC Live III: Deep Dive into MPCe Expressive Kits
Expressive Beginnings: MPC Live III and the eExpressive Pad System
The video opens with a clear mission: to demonstrate how the MPC Live III, Akai Professional’s latest standalone workstation, leverages its new MPCe Expressive pads for custom drum kit creation. The presenter sets the stage for a hands-on, workflow-oriented exploration, emphasizing the tactile and flexible nature of the hardware.
From the outset, Akai positions the MPC Live III as more than just a pad-based sampler—it’s a dynamic tool for expressive performance and intricate sound design. The eExpressive pads, with their multi-layer capabilities, are introduced as the centerpiece for building kits that respond to nuanced playing, hinting at a design philosophy that prioritizes both immediacy and depth.
"I'm gonna walk you through the process how to set up your own custom drum kits using the brand new MPC eExpressive pads on your Live 3."
© Screenshot/Quote: Akai Pro (YouTube)
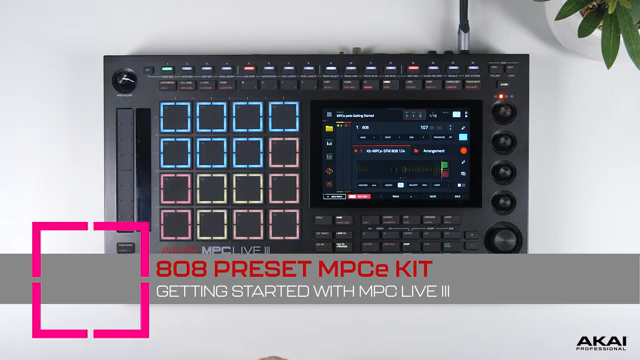
Installing and Exploring the MPCe Expansion: Presets Across Genres
"You can check out all of the different preset kits that we've created so you can start playing instantly with the MPC eExpressive pads."
© Screenshot/Quote: Akai Pro (YouTube)
Akai’s workflow begins with installing the MPCe Expressive expansion pack, a process streamlined via the InMusic Software Center. Users can transfer the expansion to the MPC Live III either through SD card or direct USB-C connection, making the setup accessible for both studio and mobile producers.
Once installed, the expansion offers a broad palette of preset kits: from acoustic drums and percussion to electronic kits crafted by Audio Tent, classic drum machines, and genre-specific sets spanning trap, lo-fi, and electronica. The inclusion of one-shot chords and artist kits demonstrates Akai’s intent to cater to a wide spectrum of production styles right out of the box.
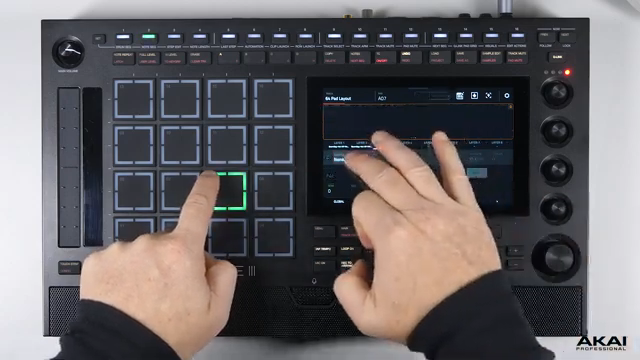
Pad Layer Editing: Four Layers, Infinite Possibilities
Diving into kit editing, the video highlights the MPC Live III’s four-layer pad architecture—each pad quadrant represents a distinct layer, allowing for up to four samples per pad. The interface enables users to select, tune, and swap samples on each layer independently, facilitating granular control over every hit.
This multi-layer approach isn’t just about stacking sounds; it’s about enabling dynamic beat-making. The presenter demonstrates how a single pad can house multiple toms, kicks, or rims, streamlining the creative process and making it possible to construct complex, evolving beats with minimal menu-diving.
"This kit takes advantage of the four quadrants on each pad, providing one sample in each quadrant."
© Screenshot/Quote: Akai Pro (YouTube)
Creative Templates: Layering, Sequencing, and Sound Design Workflows
"You can then copy this process on each empty pad and create your own custom 64 pad layout."
© Screenshot/Quote: Akai Pro (YouTube)
Akai showcases a series of kit templates designed to inspire diverse workflows. The 64-pad layout, for instance, multiplies the standard 16 pads into a grid of 64 by assigning four layers per pad, dramatically expanding the available sound palette. Users can quickly populate these layers with their own samples, creating highly customized kits tailored to their style.
Other templates demonstrate advanced modulation and sequencing concepts. The X Cutoff/Y Resonance template maps filter parameters to pad axes, enabling real-time sound morphing by sliding across the pad surface. There’s also a template for slicing loops into eight regions, assigning them across a single pad for rapid sample chopping—a workflow that encourages melodic experimentation and rhythmic complexity.
Further templates include center/edge assignments for nuanced snare and hi-hat articulation, quadrant morphing for blending between four samples, and X-axis layouts for triggering up to eight sample variations per pad. These configurations, combined with real-time effects like Tapefly, illustrate how the MPC Live III’s architecture supports detailed sound design and expressive performance without leaving the hardware environment.
Practical Tips and the Invitation to Explore
The tutorial closes with a set of practical reminders: users are encouraged to experiment with the various templates, swap out samples, and leverage the MPC Live III’s editing tools to craft unique kits. The emphasis is on hands-on exploration—Akai’s design invites producers to dig deep, customize, and iterate.
Akai Professional’s official walkthrough underscores the MPC Live III’s potential as a creative centerpiece, but also leaves open questions about deeper menu navigation, integration with larger setups, and long-term workflow efficiency—topics that would benefit from further independent exploration.
This article is also available in German. Read it here: https://synthmagazin.at/akai-professional-entpackt-das-mpc-live-iii-tiefgang-in-mpce-expressive-kits/
Watch on YouTube:
Latest articles
Watch on YouTube:
Visit the channel:
https://www.youtube.com/Akai_Pro
https://www.youtube.com/Akai_Pro
Links from Akai_Pro:
website: https://akaipro.com
instagram: https://instagram.com/akai_pro
facebook: https://www.facebook.com/AkaiPro
twitter: https://twitter.com/akai_pro
google_plus: https://plus.google.com/107127819149441645522/posts
Sponsored links:
If you purchase via these links, we may earn a small commission – at no extra cost to you. The link opens an Amazon keyword search, and results may vary depending on availability.
MPC Live III
🔗 Check price on Amazon
🔗 Check price on Amazon
MPCe Expressive Expansion Pack
🔗 Check price on Amazon
🔗 Check price on Amazon