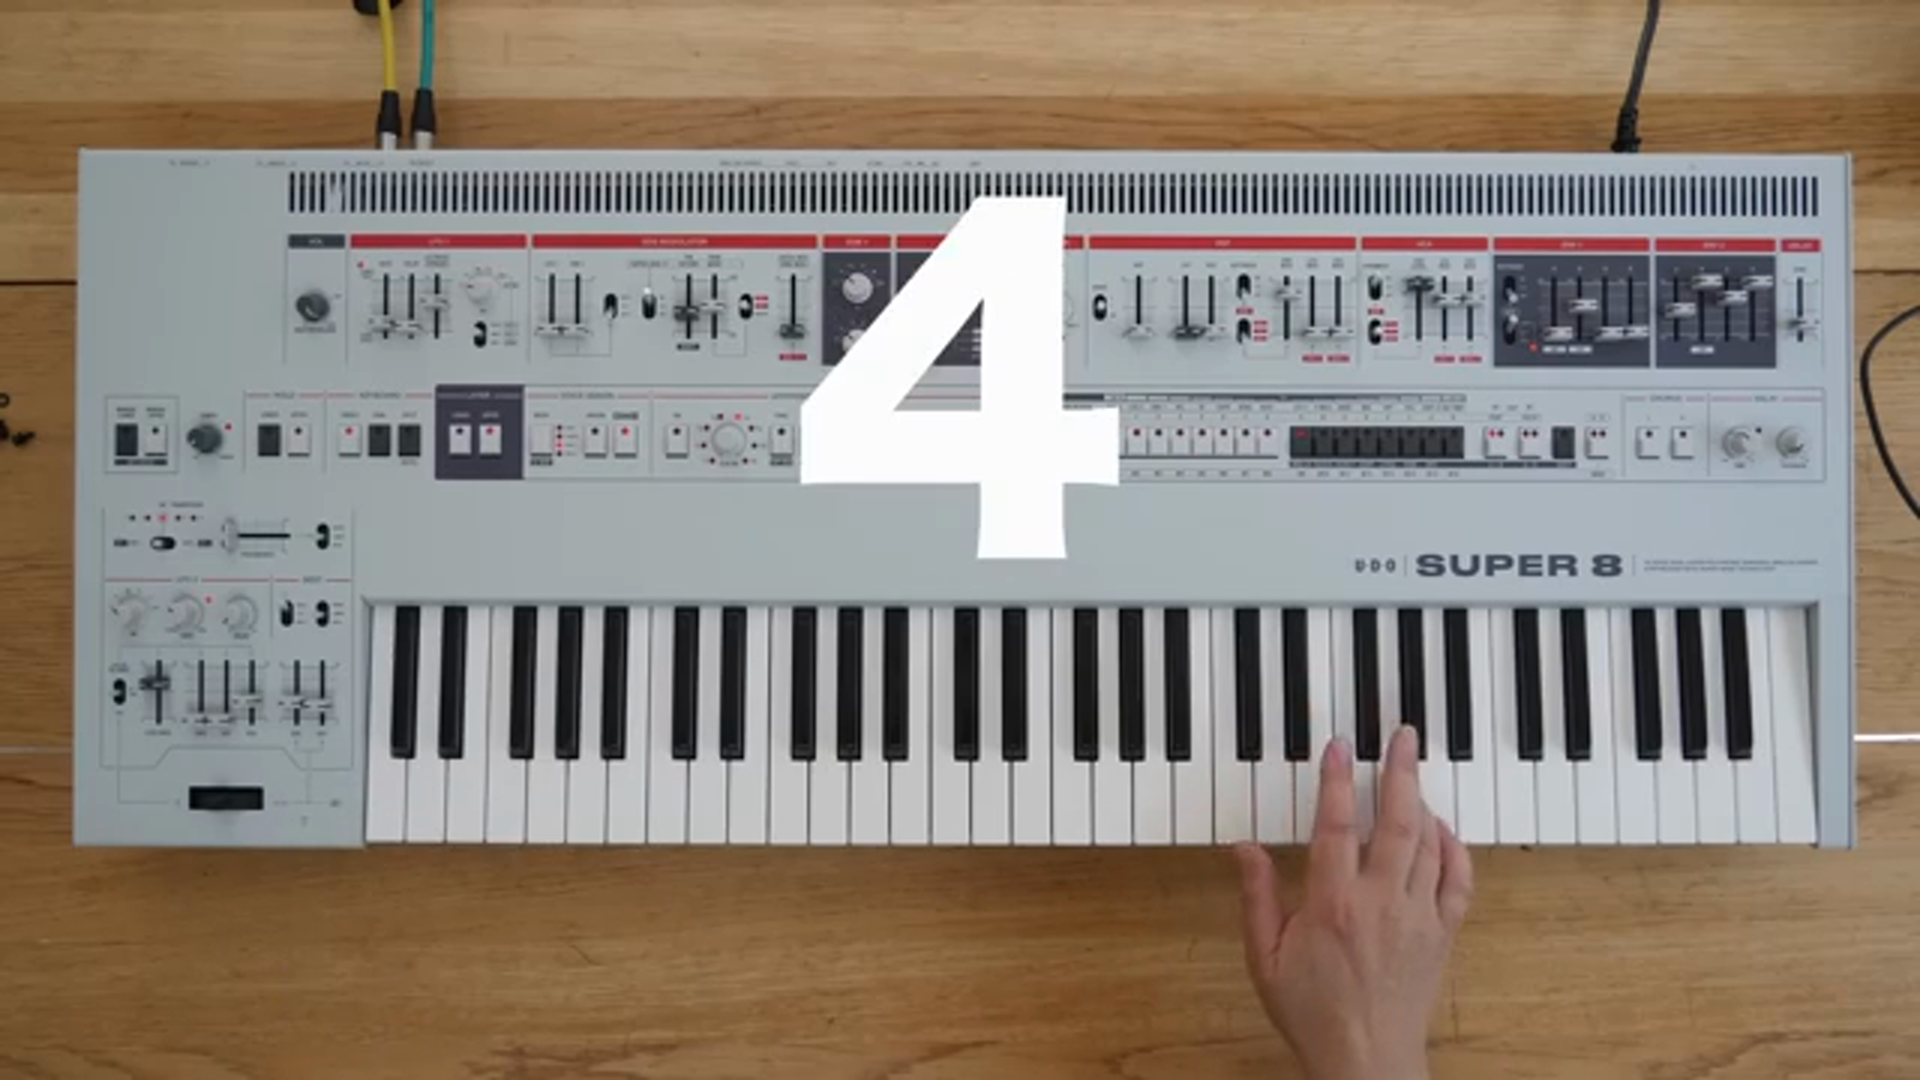
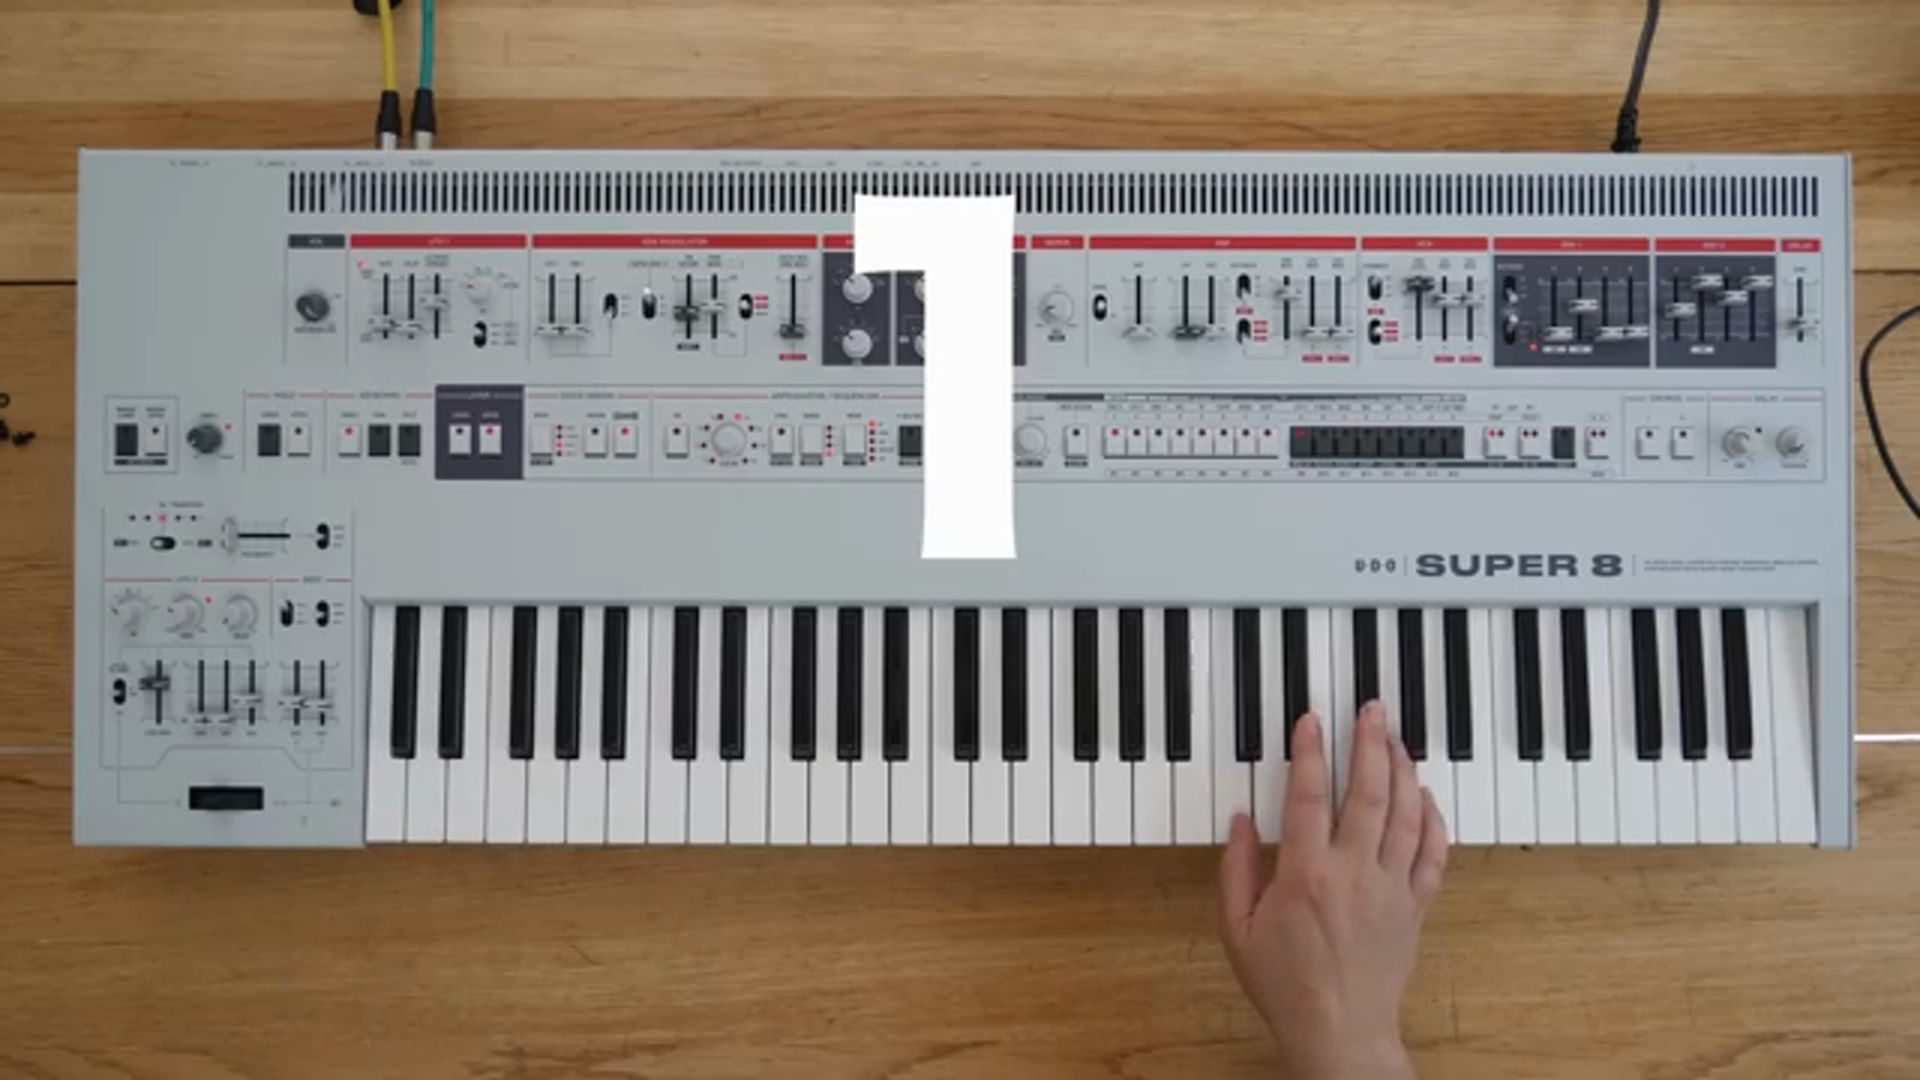
You know those upgrades that make you feel like you’ve just turned a bowl of ramen into a gourmet dish? Well, StarskyCarr is here, jazzing up the UDO Super 8 with a voice upgrade that slaps like a street festival jam. Let’s dive in and see how you can take this synth from standard to superstar without a soldering iron in sight!

Sounds Like a Dream
StarskyCarr kicks off the video by reminding us of the sexiness that is the UDO Super 8. But let’s not get caught up in its stunning looks; it’s all about the sound this time. With an enticing 20 voices at its disposal, the Super 8 promises to sound as lush as it looks. Right off the bat, Starsky sets the stage for what’s to come: an upgrade journey taking you from 16 voices straight to a whopping 20, just like its fancier sibling, the Super Gemini. No soldering irons needed here, folks, just some good old-fashioned plug-and-play action.

"This is it straight out of the box. Let's see what we've got in here."
The Blueprint: Step by Step

"Just be careful that you don't drop them."
Alright, here’s where StarskyCarr rolls out his toolbox and gives us a step-by-step on cracking this baby open. First things first, get those screws out from the back, front, and sides—leave one side screw in as a hinge, though. Nobody wants their precious gear flapping around like a loose hubcap, right? Then, it’s time to pop in the new voice boards, reminiscent of sliding RAM into your old-school PC. Starsky advises tightening those hinge screws just to keep things steady. No one wants their Super 8 looking like it went through a streetside brawl.
Now, if you’re wondering whether you need to suit up like you’re building a rocket, fear not. Starsky assures us it’s as easy as tossing salad at a family BBQ. Simply locate slots five and 10, slot those cards in, and boom, you’re halfway to synth heaven. Even without an anti-static wristband, our brave guide ventures forth, giving us that homegrown confidence we all need. Pro-tip: Keeping your screws sorted? That’s a little like separating your reds from your whites on laundry day.
But wait, there’s more! You gotta make sure everything aligns like planets during a cosmic event. Starsky drops in the cards smoothly, almost like he’s been doing this in his sleep. And hey, a little tightening goes a long way to ensure your street cred in the synth world. Fasten those boards, check your work twice, and let’s move onto some firmware action next.
Firmware Fiesta
With the boards snug as a bug in a rug, Starsky enlightens us on the next crucial step: updating the firmware. Just plug your Super 8 into your computer, hold down the patch button, and boom, it turns into a hard drive like some digital Transformers magic. Sound confusing? Starsky’s got your back, and he breaks it down as if he’s explaining directions to the local taco joint. Load up that firmware, hear the synth clicking like it’s trying to send a telegram, and wait for those lights to give you the all-clear.
Once everything’s installed, it’s like hearing the beat drop at your favorite club—pure electronic euphoria. Starsky assures us it’s normal to feel nervous the first time, but once you hear that triumphant little click as the update completes, you’re halfway to synth nirvana. And speaking of clicks, those LED lights will do their little dance, celebrating your victory over tech intimidation. Firmware updates aren’t just a necessary evil; they’re a rite of passage in the synth community. Once you’re through, you can finally pat yourself on the back. Just don’t break your arm doing it.
Calibrate Like a Pro
Now that your firmware’s working its magic, it’s time to calibrate those voices. Starsky explains the process with the ease of a chef instructing a rookie on making scrambled eggs perfect. Hold those buttons, wait for some vibes, and let the filters calibrate themselves. This phase is essential for the synth to acknowledge its newfound voice power, and Starsky walks us through it like a boss. It’s all about finesse and getting everything to sing in harmony.
In binaural mode, the Super 8+ marvels with 10 full voices on each side – that’s 20 voices powerfully balanced between left and right. It’s like having the toughest DJ rig set up on both sides of your room. Starsky’s excitement is infectious as he demonstrates the sonic prowess. His knack for breaking down the steps while keeping things light is refreshing. By the time he finishes, you’re more than tempted to get in on this action yourself.
Starsky’s tutorial doesn’t just feed you instructions; it serves them up with extra seasoning. From turning off and on, to gently easing the new calibrations into your Super 8 life, it’s clear that this process, like a good street performance, needs to be appreciated in its entirety. Once you hear those voices singing, any hesitations melt away. Welcome to the upgraded world of Super 8!

"Hold that for five seconds."
Let's Wrap It Up
It’s been a journey, hasn’t it? Starsky takes a moment to wrap things up, checking all screws are back in place, ensuring your synth looks as good as an unopened vinyl record picked up at the local shop. That’s right, it’s time to put everything back together—the backplate, the sides, and all the little bits in between. Starsky is thorough, making sure you leave no loose ends like a sloppy mixtape.
After sandwiching electronic glory with successful tinkering, Starsky suggests checking your neighbors aren’t planning a noise complaint. Once everything is tightened up and good to go, there’s a final bit of show-and-tell. This upgraded Super 8 isn’t just a display of techno-wizardry, it’s now a centerpiece in your jam session arsenal.
Starsky’s final notes echo with encouragement to share your thoughts and catch up with more of his tech-savvy adventures. It’s not just a sign-off; it’s an invitation to keep pushing and exploring the synth universe. So hit that subscribe button like you’re sampling a classic drum break, because if there’s one takeaway, it’s that the Super 8+ is now dressed and ready for the big stage.
Latest articles
Watch on YouTube:
https://www.youtube.com/StarskyCarr
Links from StarskyCarr:
Sponsored links:
If you purchase via these links, we may earn a small commission – at no extra cost to you.
🔗 Check price on Amazon